
Overview
This article goes over how to acquire a PreXion scan through TDO. For instructions on setting up the integration between your PreXion3D scanner and TDO, see this article.
Detailed Instructions
Click the Acquire button from the Main or Imaging tab
Once the Acquire window is open, click the CBCT button to launch PreXion

The “PreXion Home” window will open. The patient will be listed under the “Work List” tab (This tab is selected by default).
If this is the first CBCT on current day, make sure to click on “Daily Check” button and follow the prompts.
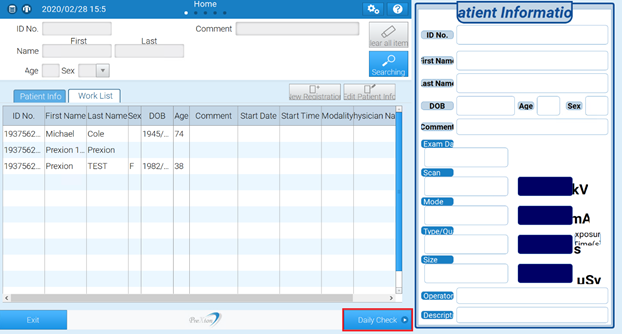
Current info shared with PreXion: Patient ID number, First/Last names, Gender, Date of Birth (DOB).
In PreXion, the white tab indicates the selected tab.
The “Patient Info” tab is for non-TDO integration. If this tab is selected, the integration with TDO WILL NOT WORK. PreXion will not output the files TDO is looking for.
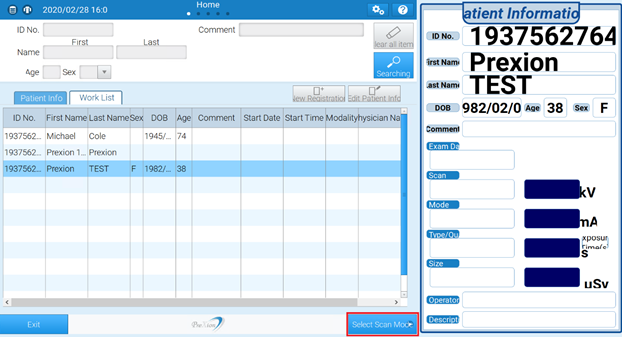
Select the patient (the patient's info will be highlighted).
Click on the “Select Scan Mode” button.
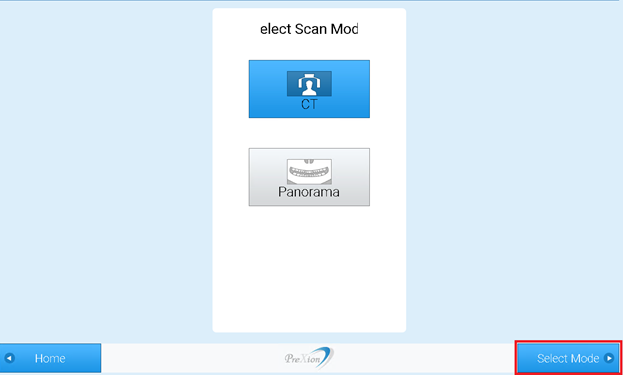
Select either “CT” or “Panorama”.
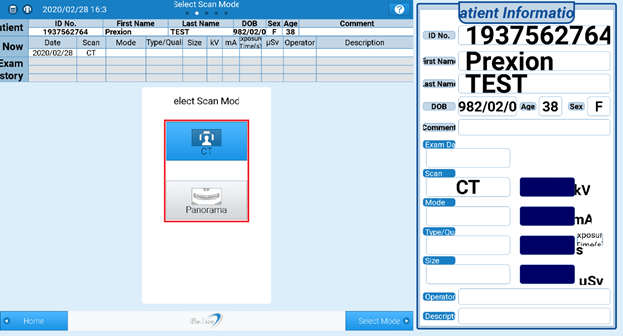
Click on Select Mode.
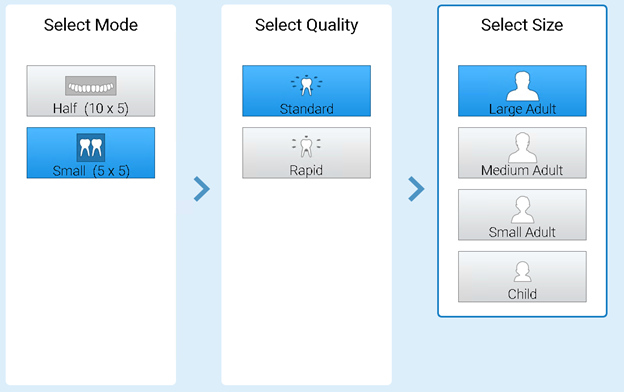
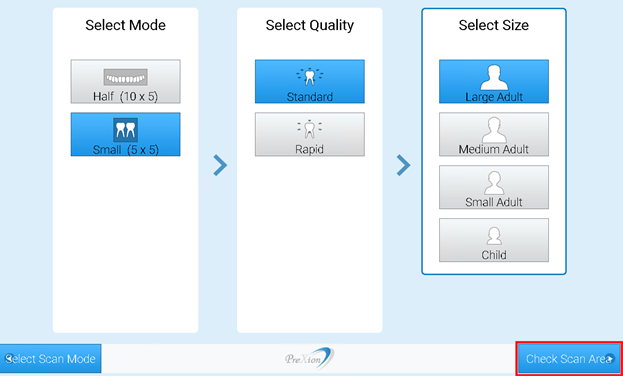
Select Mode, Quality, and Size.
Click on “Check Scan Area”.
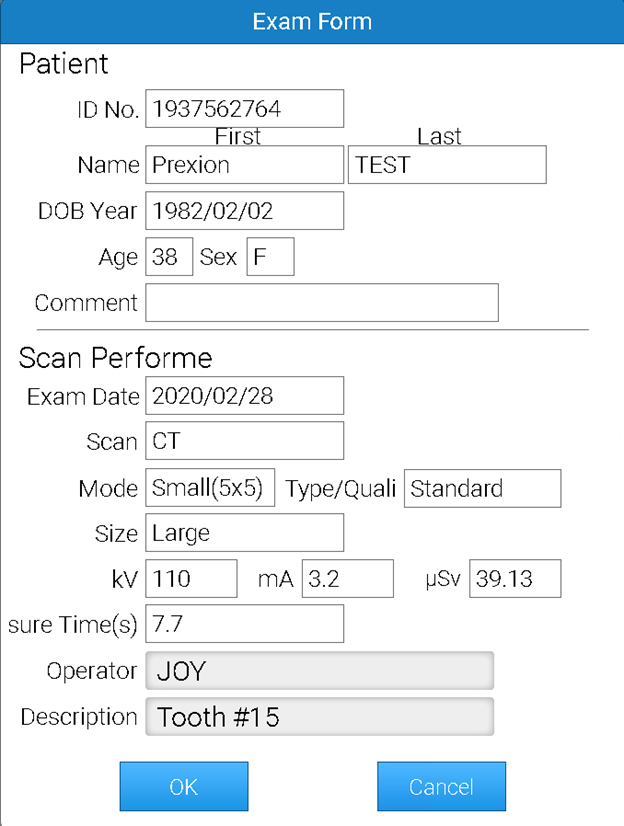
On the “Exam Form” window, enter in the Operator and the Description, then click OK.
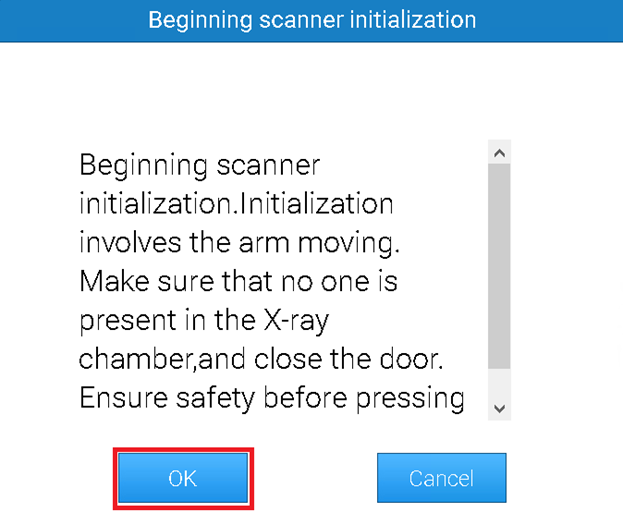
Scanner will initialize to scout the image.
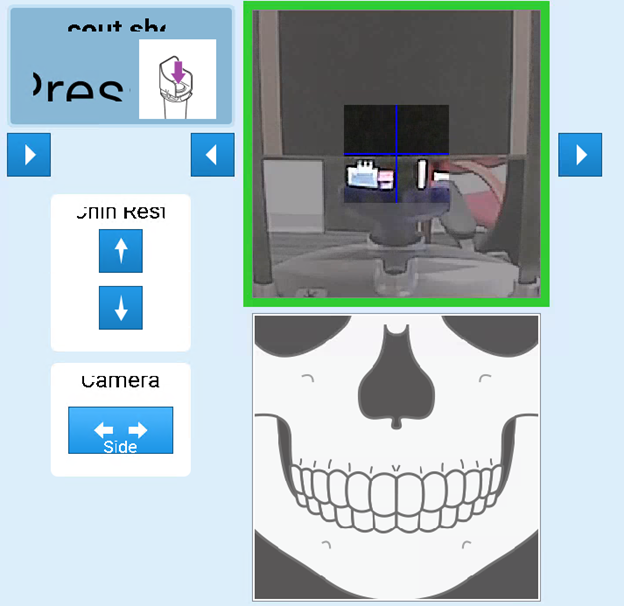
Place patient and adjust.
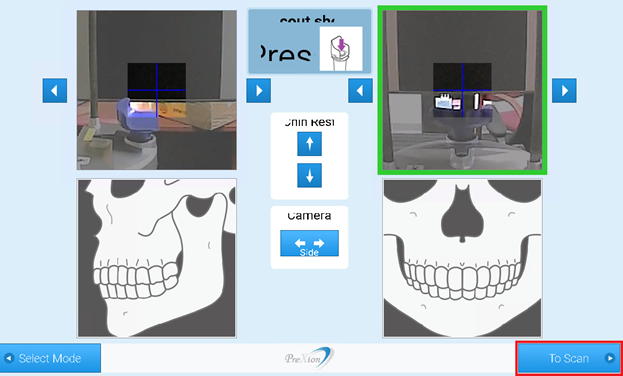
Click on “Camera” button and adjust the image.
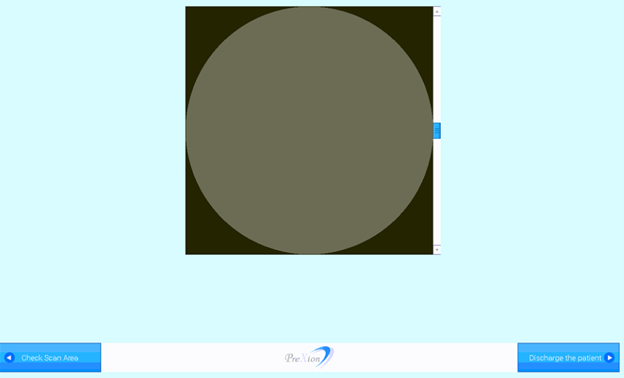
Click on ‘To Scan” button. Scanning will begin.
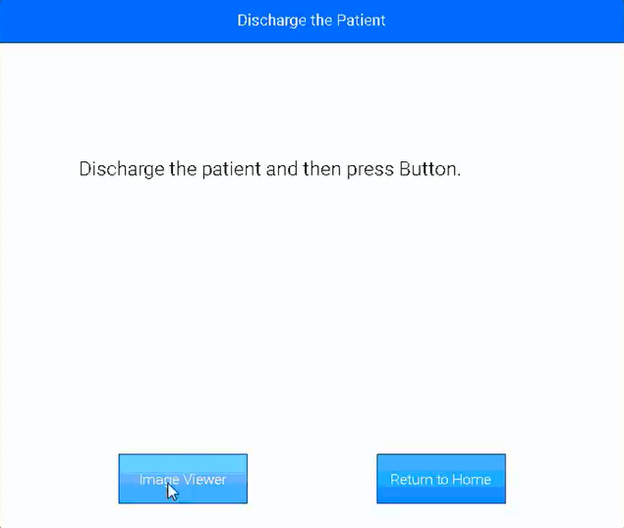
Once the image is taken, click on the “Discharge the Patient” button.
Click on “Image Viewer” to view the 3D image.
The 3D icon will show in Acquire.
If the screenshot does not show in acquire, click on the “TDO” button in PreXion. The image should show in Acquire.
Article ID: 804
Created: March 25, 2020
Last Updated: April 1, 2026
Author: TDO KB [web_admin@tdo4endo.com]
Online URL: https://kb.tdo4endo.com/article.php?id=804