Using the Treatment Timer & Waiting Time Report
Estimated Reading Time: 3 MinutesOverview
A cumulative total is maintained for treatment of all cases. You may start and stop the timer as many times as you wish per visit and assign an assistant to each timer interval.
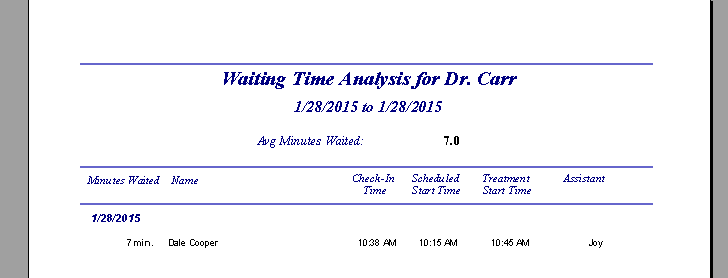
The waiting time report will summarize, by day, the patient check-in time, the treatment start time, and total waiting time. To properly utilize the waiting time report, follow the steps listed below.
Detailed Instructions
- Start the timer by clicking the ‘play’ button at the top of the Main Patient page.
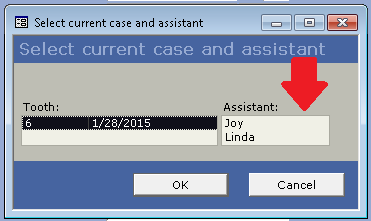
- Select the appropriate tooth and assistant; click “Ok.”
- The running timer will show on your screen in green. You may leave this up or close it; the timer will continue to run.
- To stop the current timer, click the “Stop” button on the timer popup or on the top of the Main Patient page or on the timer popup.
- Start and stop as many times as necessary.
- To edit a timer that has already been entered, click Main Patient Tools – Edit Timers.
When you choose to start your treatment timer is based on preference - if you wish to track “chair time” or “doctor time”. You may choose to have the assistant start it as soon as the patient is seated in the operatory, or you may decide to start it when the doctor is actually with the patient
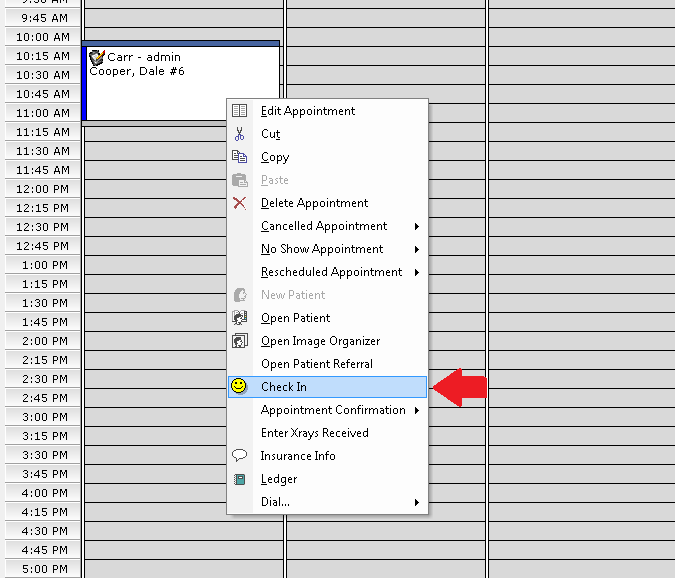
Check in Patient: Check in your patient by right-clicking on the appointment on the Calendar and selecting Check In
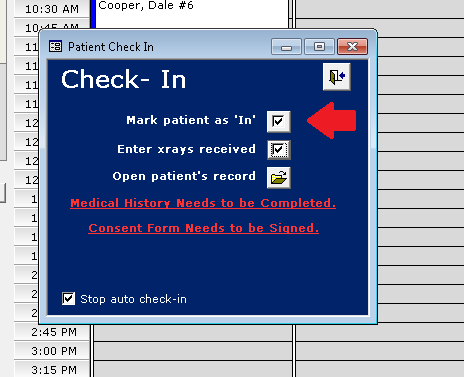
Click the checkbox Mark patient as ’In’
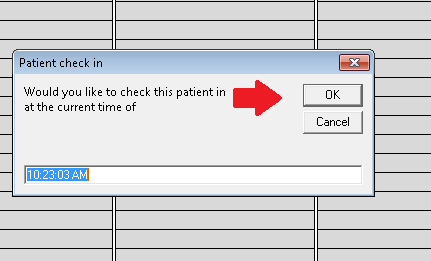
This will bring up a time stamp with the current time. Clicking OK will check in your patient and start the waiting time.
NOTE: If the patient is checked in prior to their scheduled appointment time, the waiting time will not actually begin until the time the appointment was scheduled.
Start Treatment Timer
When the patient is brought to the operatory for treatment, the doctor or the assistant should then click the ‘start time’ for that patient.
This will end the waiting time for that appointment.
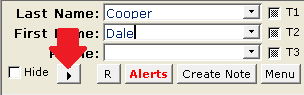
To start the treatment timer, click the Timer button
Choose the correct tooth, and select the name of the assistant who will be treating the patient:
After this, the timer will appear, and the waiting time will be complete.

Edit Timers
If you notice any patients with unusually long treatment times, you can edit those directly within the patient’s chart by navigating to Patient Tools - Edit Timers.
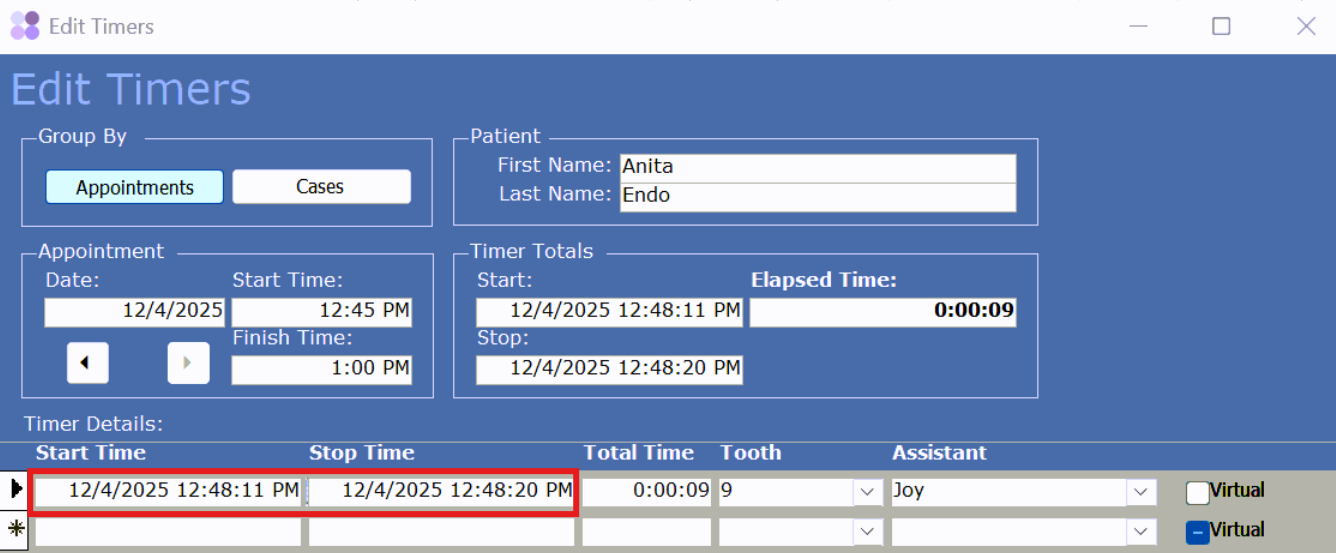
Group by - you can filter by Appointment or Case.
Appointment - shows date of appointment.
Start time - indicates the time of the appointment start.
Finish time - shows the time the appointment ends.
Patient - this displays the name of the patient you are currently viewing.
Timer Totals - details of the Start and Stop of the treatment timer.
Timer Details: You can edit the Start and Stop times if needed.
Tooth - the tooth for which the timer was started. Can be edited.
Assistant - can edit the assistant.
Virtual - the virtual timer starts after the patient is checked in. It displays the length of the appointment scheduled time. Once the timer is manually started, it will replace the virtual timer time.
To view the Waiting Time Report
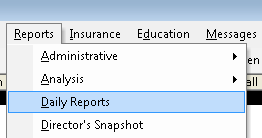
Click Main>Reporting Tools>Daily Reports
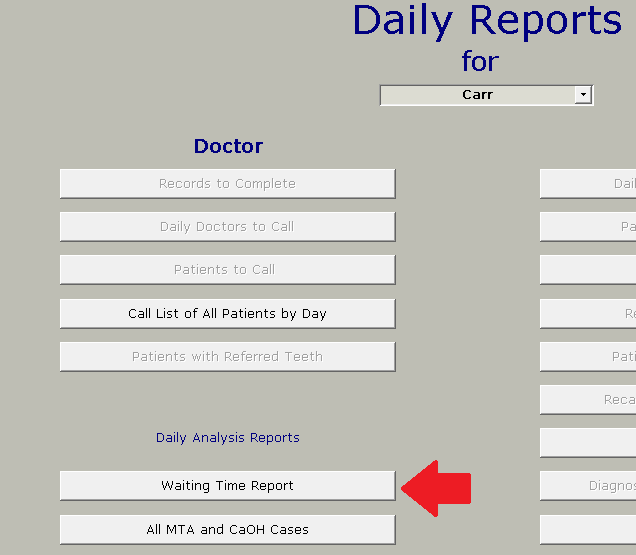
On the Daily Reports menu, select Waiting Time Report.
Enter the date range you wish to view and click Open Report
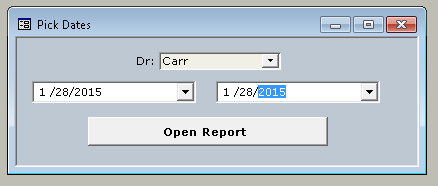
This will open the waiting time report, which will have your patient's wait times.
Cloud Reports - Patients Seen by Location and Doctor> Patients Seen Detailed
This report allows users to see all patients seen by location and doctor. The report includes the start time and stop time of treatment.
https://kb.tdo4endo.com/article.php?id=743
Must have Cloud Services to access Cloud Reports.