Insurance Information in TDO
Estimated Reading Time: 2 MinutesOverview
This article goes over how to view and add insurance information for a patient in TDO.
Accessing the Insurance Tab
To enter insurance coverage for a patient, click the Insurance tab on the patient’s main data screen.
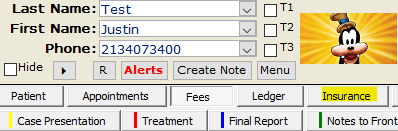
This can also be accessed directly from the calendar by right-clicking on a patient’s appointment and selecting Insurance Info.

You have the option of selecting insurance by carriers or by profiles. Most offices prefer to use just the carrier list. Profiles simply allow you to store employers, group numbers and benefit information together for different insurance companies.
Selecting Insurance

You can select an insurance carrier by clicking the dropdown box next to Pick Carrier and finding the correct insurance. If the patient's insurance is not on the list, click the + button to add a new carrier.
Alternatively, you can select an insurance profile by picking the appropriate profile from the Profile dropdown box. The choices will be listed in alphabetical order by carrier. You can search for profiles by clicking the Search Profiles button.
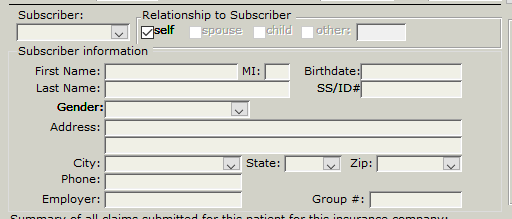
Entering Subscriber Information
Once the carrier has been selected, pick the subscriber from the drop-down box. If you choose Patient, all of the patient’s information will be populated into the subscriber information section. If you select any other option, a form will open to enter the appropriate name and address information. Finally, enter the employer and group number.
The first insurance record entered will always default to Primary, and any additional insurance will default to secondary.
You can change a secondary to primary if necessary, provided there are no claims associated with it.
Adding New Insurance Records
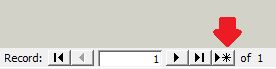
If you want to add a new insurance record, simply click the  button that is located underneath the Summary of all Claims area.
![]()
You can also sort through existing insurance records using the other arrow buttons
Benefits Information
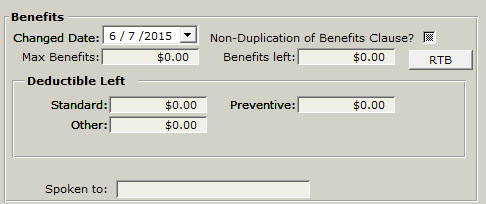
The right side of the form allows you to enter benefit information. This information is optional but necessary if you plan on using the insurance estimating feature of the program.
Summary of Claims
The bottom section of the page has a summary of all claims already submitted, including the date submitted, date received, claim number, and amount. You may open any of the claims by clicking the View button.

How to change a patient's insurance when it is no longer active
- Marking the insurance inactive.
- Flipping primary insurance and secondary insurance.
- If the claim was sent to the wrong company, it has to be voided before recreating it under the proper carrier.
Notes
The Note section located on the lower right is a good place to enter any notes about the patient’s insurance. Be aware that these notes are only visible on this tab. If it is a note you want to see in many places, please enter it in the Notes tab.