TDO Live Consult with Google Calendar Sync
Estimated Reading Time: 7 MinutesOverview
For more information on the use of teledentistry and how to bill correctly, please read the attached guide from the ADA. This guide was published on March 31st, 2020.
TDO Live Consult is a new feature that leverages the power of the existing TDO Google Calendar Synchronization and combines it with the Google Meets/Google Hangouts platform to allow your office to offer video consultations.
Watch the video below that Dr. Carr recorded to see the feature in action.
Requirements
- Internet access (from at least the computer running the TDO Google Calendar Sync)
- Active TDO Cloud Subscription
- GMail account (e.g. doctorendodontist123@gmail.com), or GSuite email Account. If your email accounts are provided through TDO Cloud, they are GSuite Accounts [formerly known as Google Apps for Business].
- Google Calendar Sync process is already set up and working. For instructions on how to set up the Google Calendar sync, please reference: TDO Google Calendar Sync
Detailed Instructions
Download Necessary Files
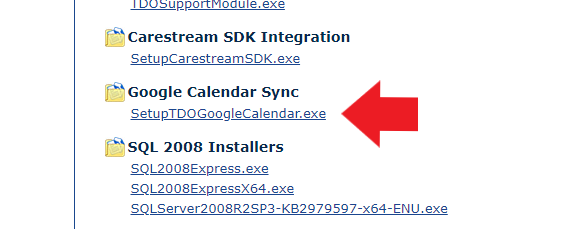
Download the new SetupTDOGoogleCalendar.exe by clicking the link or by logging into TDO4Endo.com and visiting the Download TDO page.
Save it in the TDO Builds directory on your server.
Stop Old Sync and Close TDO
Exit the TDO Program fully on the computer you’ll be using to set up the TDO Google Calendar Sync Application.
In the system tray (on any computers currently running the TDO Google Calendar Sync Application), find the TDO Google Calendar sync application and right-click and end the process.

Install the New TDO Google Calendar Sync
Once the TDO Google Calendar Sync application has exited, run the new SetupTDOGoogleCalendar.exe that you saved to your TDO Builds folder.
This installer will find your TDO installation location on your computer and install new files that enable the function of this feature.
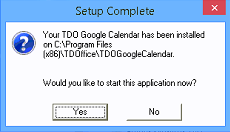
After the installation is complete, you will be prompted to launch the TDO Google Calendar Sync. Click ’Yes’ to launch the sync tool.
Configure and Start the New TDO Google Calendar Sync for the First Time
TDO Google Calendar Sync 12.0.0.12 will display.

Select the account you want to configure from the dropdown ’Select Account to Sync’
Click on the ‘gear’ icon to select the type of appointments they wish to sync (Appointment and blocks, Appointments only, or TDO Live Consult appointments only) and the appointment reminders.

The “Settings” window will display.
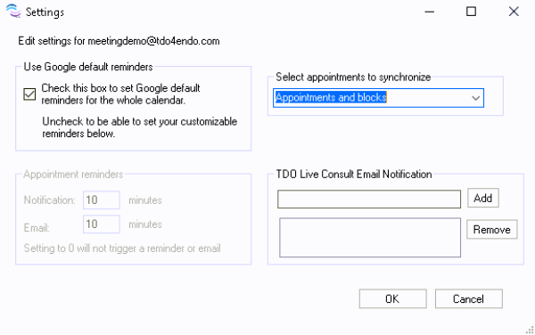
If you check the ’Use Google default reminders’ box, every event synchronized to your Google Calendar will use your Google Calendar’s default event notification settings (so if you have many appointments, you’ll receive many notifications).
To change the default event notifications for your Google Calendar, see this link.
Leaving this box unchecked will allow users to customize whether (and what types) of reminders are created for the events that are synchronized to their Google Calendar. You can choose to receive a notification (displayed on any devices logged into that account), and/or an email reminding you about your upcoming events. You can also choose to receive neither by entering 0 in both fields.
Select appointments to synchronize: will allow users to select the type of appointments the wish to sync.
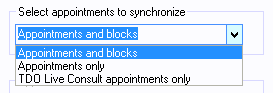
- Appointments and Blocks: will synchronize all types of appointments including “TDO Live Consult” and block appointments.
- Appointments only: will synchronize all types of appointments, including “TDO Live Consult”. It will NOT sync Block appointment.
- TDO Live Consult Appointments only: will synchronize those appointments scheduled for TDO Live Consult only. This excludes any other types of appointments and block appointments.
TDO Live Consult Email Notification: Will allow users to keep their Front Desk or any other staff member in their office informed of any upcoming TDO Live Consult scheduled.
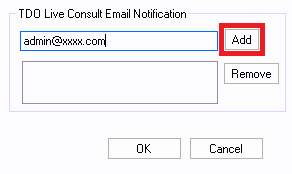
Enter an email address of the front desk or admin staff.
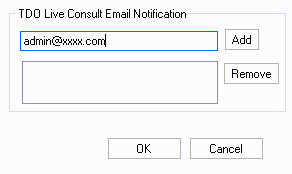
Click on the ’Add’ button.
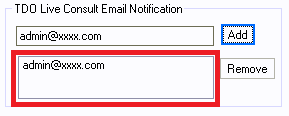
Email account will display in the box below:
Notes
1 To remove any email address under “TDO Live Consult Email Notification”, make sure to select the email address to be removed, then click the “Remove” button.
2 Once the appointment(s) is/are synced in TDO Google Calendar, by default, the provider, the patient, and the list of emails added in the TDO Live Consult Email Notification box will receive an email notification of the scheduled appointment.
Once you have completed the configuration, click OK to close the settings window.
Click ’Start’.

A browser window will open to log into the Google Account. Make sure you enter the credentials for the account you selected in the previous step.
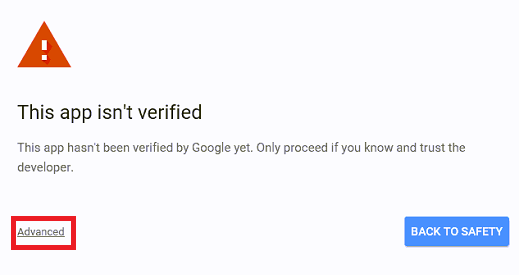
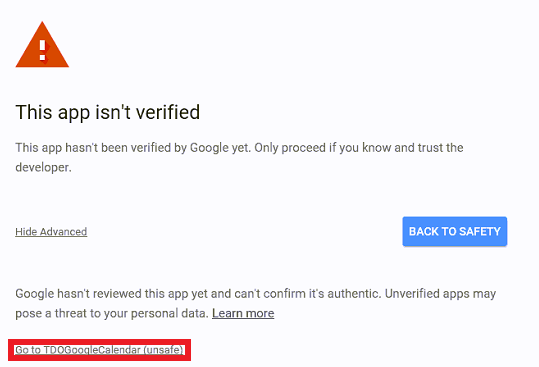
If prompted, click ’Advanced’ and then ’Go To TDOGoogleCalendar (unsafe)’ (Don’t worry, this application is safe, just hasn’t been verified by Google yet).
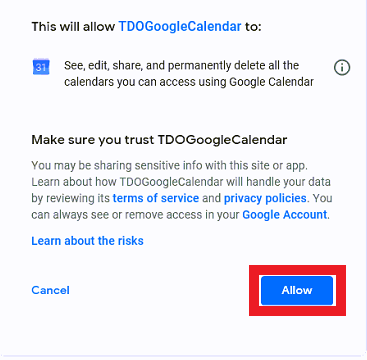
Click Allow. The page may display an Authorization successful message or may automatically close. Either result indicates that you have successfully given TDO access to synchronize appointments to your Google Calendar.
While synchronizing, a window displays the time of the most recent synchronization and the next synchronization for the account in question.
You can minimize this window and the application will continue to run, but DO NOT CLOSE IT unless you wish to stop the sync.
You can synchronize to multiple different Google Accounts from the same computer simply by running multiple instances of the application (usually [C:\Program Files (x86)\TDOffice\TDOGoogleCalendar\TDO.GoogleCalendar.exe]), and selecting a different Google account to synchronize to.
When a ‘TDO Live Consult’ appointment is rescheduled, the appointment block will be updated after the next sync saying ‘Rescheduled’ and the link to join the meeting will be removed.
If you need to change the settings (reminders, appointment types) for your sync, you must close the application and launch it again.
The TDO Google Calendar Sync application can only run while the computer is turned on and a user is logged into Windows. If you reboot your computer, or log out of and then back into Windows, you must start the TDO Google Calendar Sync Application again.
Configuring Appointment Type in TDO
To use this feature, a special appointment type needs to be created in TDO. When this appointment type is used, an email will be sent to the patient’s email on file, including a Google Calendar appointment that contains a link to the video meeting. All video meetings will be conducted through Google Hangouts or Hangouts Meet.
To set up the appointment type:
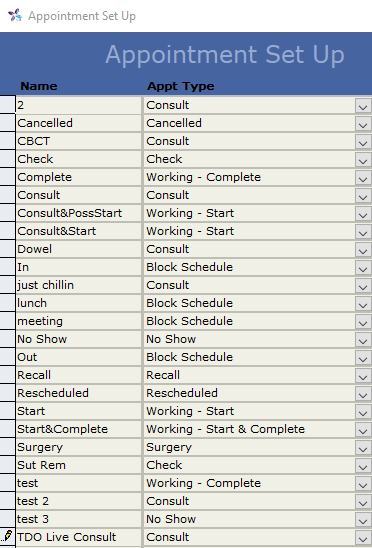
Program Setup > Appointment Setup and add “TDO Live Consult” as a Consult type appointment. This is not case sensitive, but it needs to be spelled exactly as shown below to work correctly.
TDO Usage
Create an Appointment as usual, selecting the patient, tooth number, and any other essential details.
For the appointment type, please select: TDO Live Consult
Save and close the appointment.
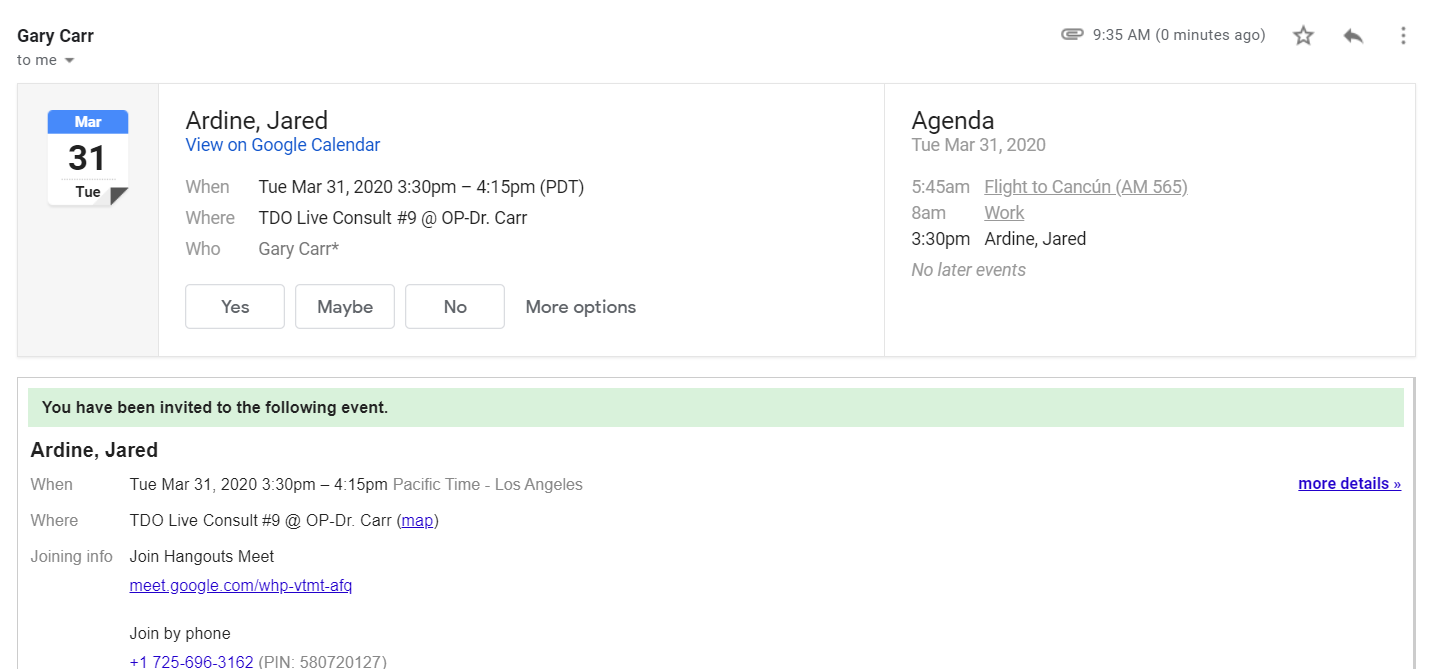
Once the next TDO Google Calendar Sync (every 5 minutes) occurs, the patient will receive an invitation via email.
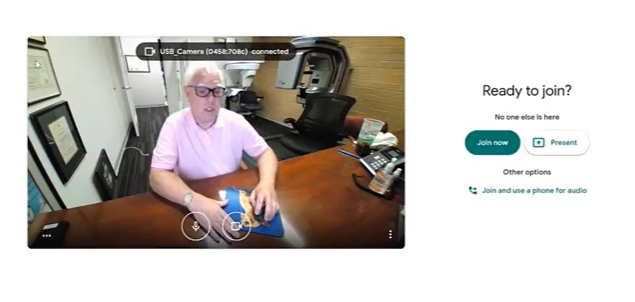
If the patient uses a desktop computer and clicks the link, it will open the video call in Hangouts Meet (or Google Hangouts’ Video Call, if you are using TDO Google Calendar Sync with a Gmail account). Ask them to sign in and ask them, “Ready to Join?” At the meeting time, they should click the “Ask to Join” button. If the host (doctor) is already in the meeting, they will receive a request for entry from the patient.
If the patient is using a smartphone when they click the link, they may be prompted to install the Google Meet app (or Google Hangouts app if you are using TDO Google Calendar Sync with a GMail account), and to sign in with their Google account (GMail or GSuite). After doing so, they’ll be sent to your Meet (based on the meeting code from the email they received). They can then "Ask to Join" and begin the meeting.
See this article for more information about joining the video meeting.