Image Acquire - playback video
Estimated Reading Time: 3 MinutesOverview
TDO has the ability to both acquire and view video using various video capture devices. This article will go over both how to acquire and view said video.
Acquiring Video in TDO
This will go over how to acquire videos in TDO.
- Access the Control Table by going to Setup > Site Configuration > Edit Control Table
- Select Application Settings and point the Video Path box to the directory where you'd like to save your videos (Ex: C:\TDOVideo) and close the window.
Note: Depending on how many videos you want to create and the quality/length, these files can take up lots of space. We recommend using a directory that has ample space to contain your videos.
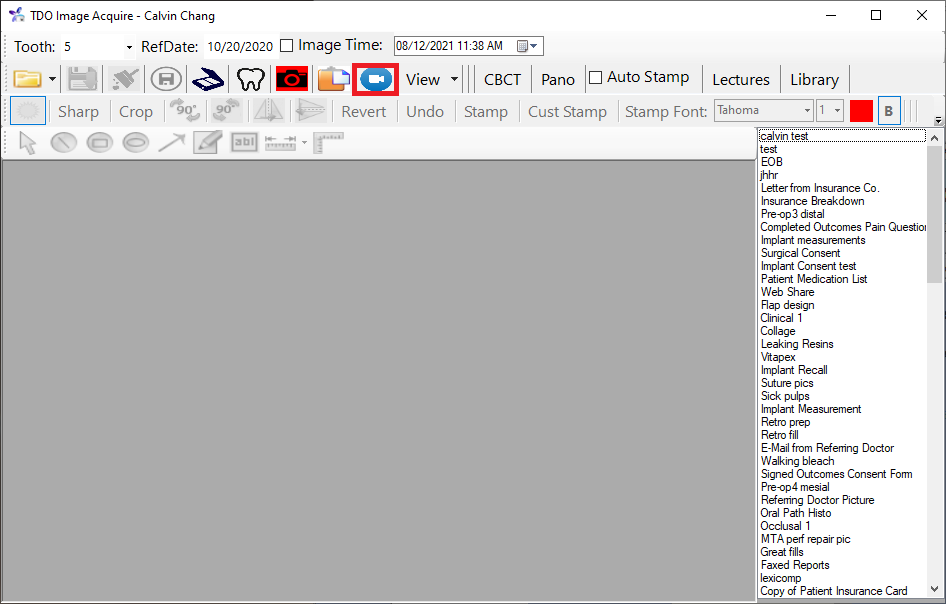
- Open the Image Acquire module and select the Video icon, as shown here:
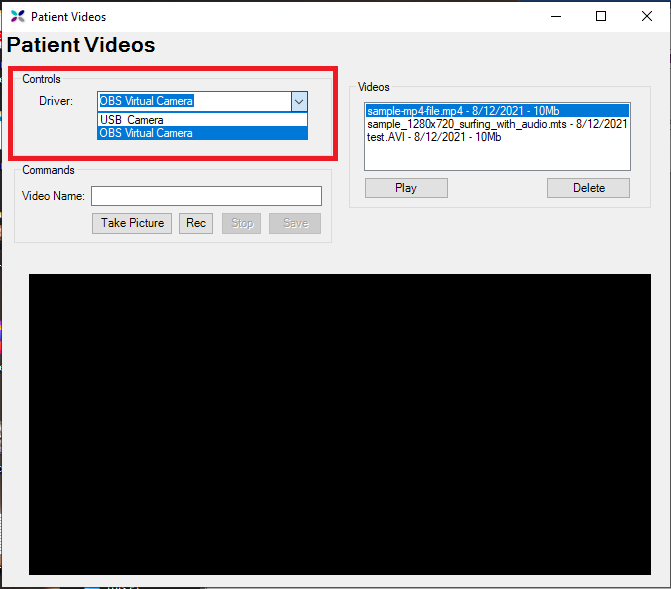
- Once you do, a new window will open up. From here, we can select the video capture device that you want to use under the Driver drop-down menu:
Note: If your device does not appear, you may want to test that the video capture device is working outside of TDO (ex. Windows 10 Camera app). If it doesn't appear to be working outside of TDO, we recommend contacting your IT professional so they may troubleshoot the issue.
- Afterwards, the blank space below will be replaced with your video feed. From here, you can give your video a name using the Video Name box. The Take Picture box will take a picture of what's currently displayed on the screen and put it into the Image Acquire window for you to save to the patient's Image Organizer. The Record button will start recording your video. When you're ready to stop recording, you can use the Stop button to do so. Afterwards, when you're ready to save your video, you can use the Save button to save the video to the patient's Image Organizer.
Note: While recording, if you select the Take Picture button, it will stop recording your video. To start recoding again, hit the Stop button followed by the Record button.
Viewing Video in TDO
There are a few ways to view videos in TDO. Here's how to do so:
Note: .avi, .mpg, .mov, .wav, .wma, .wmv, .mp3, and .mp4 files are all compatible with TDO. Support for .m4v files was added in version 12.373g. .MTS video files can also be played on workstations that have Windows 10 and TDO Version 12.355x+ installed, however a separate video codec may need to be downloaded. You can find the codec here.
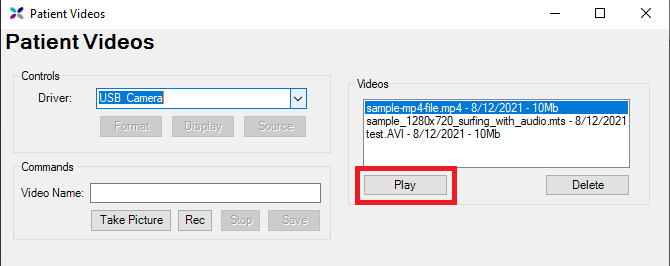
- In the Patient Videos window, you can select any of your videos on the right hand side and use the Play button to view the video. The video will open using the default video playback app in Windows.
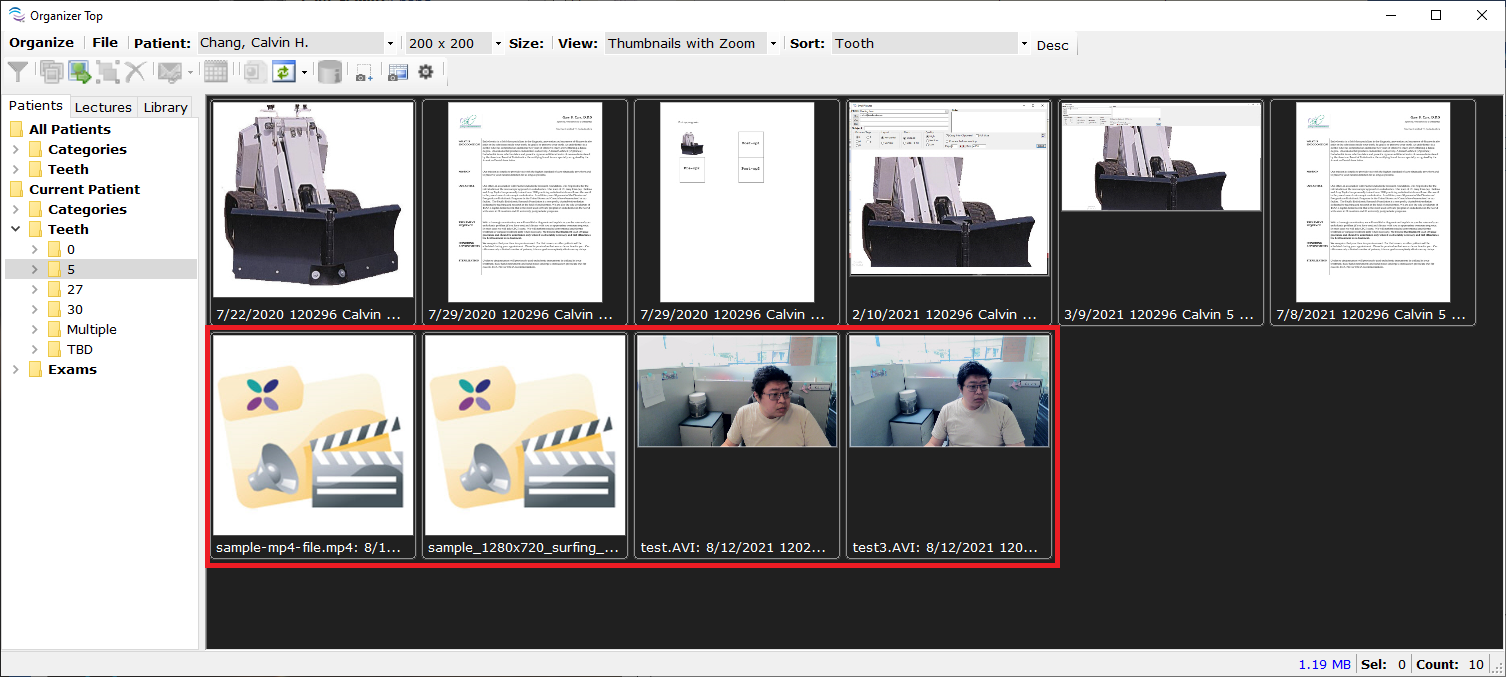
- From the patient's Image Organizer, you can double click one of the videos you created to play it. This will also open the video using the default video playback app in Windows.
Importing Video into TDO
To import a video into a patient's chart, simply drag and drop the video file into the patient's Image Organizer. The video file does need to be one of the file types listed as supported above. Afterwards, you can categorize the video and assign it to a tooth as well as open from the Image Organizer.