[TDO12] Configuring TDO Folder Monitor for Image Acquisition
Estimated Reading Time: 2 MinutesOverview
TDO Folder Monitor will allow TDO to automatically save Digital Images into the Patient’s record.
Configuring TDO for Folder Monitor
Open up TDO and go to Setup> Site Configuration> Edit Control Table then select Workstation settings.
Version 11- Administrative > Edit Control Table then select Workstation settings.
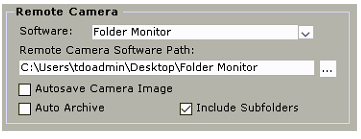
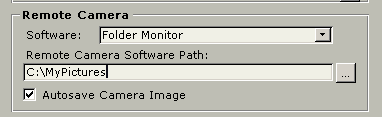
Under “Remote Camera” select “Folder Monitor” from the drop down.
For “Remote Camera Software Path” select the path of where you are saving your photos, C:\MyPictures for example.
Select “Autosave Camera Image” if you would like to have the images automatically save into the patients record.
Using TDO Folder Monitor
To use the Folder Monitor, in TDO open up the acquire page and click on the Red Camera icon  and you will see the Folder Monitor application open. Once you take a photograph and the device saves the image to your specified location, TDO will grab the image and import it into the acquire page.
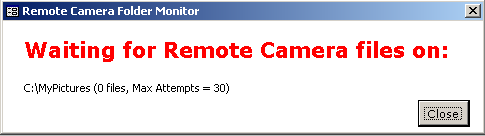
Some devices require additional time to unlock the file. The number of attempts can be changed in the TDO.INI file (c:\program files\tdoffice\tdo.ini). If the following entry does not exist, create a new one and enter the desired amount of attempts:
FolderMonitorMaxAttempts=50
The Zeiss camera requires:
FolderMonitorMaxAttempts=200
The FolderMonitorMaxAttempts setting can only be modified on TDO 11.340a or later.
Auto Archive: Users will have an option to select this in the Control table. When checked, images will be moved to an Archive folder after the image is saved. Default value is not checked.
Include Subfolders: users can configure the camera software to create subfolders with dates when taking pictures. If you configure your camera software this way you would need to check the “Include Subfolders” option in the control table so that TDO can monitor those folders. The default value is set this way.