J Morita (i-Dixel) CBCT Integration
Estimated Reading Time: 3 MinutesOverview
TDO has integrated J Morita’s i-Dixel CBCT units for a direct connection to their 3D Imaging software. Patients’ files are linked, allowing easy access between programs in one window, which eliminates file duplication. TDO users can now seamlessly integrate a Morita 3D unit into their practice with full compatibility.
Requirements
i-Dixel Version 1.817 or later (JMPatientinfo.dll version 1.0.0.8 or later). If on an older version, please contact J Morita technical support to update the i-Dixel version.
TDO Version 11.111 or later
Note: Your IT must ensure that all Windows users have full read/write permission on the following directories:
Registry folders:
HKEY_LOCAL_MACHINE\SOFTWARE\JMorita
HKEY_LOCAL_MACHINE\SOFTWARE\WOW6432Node\JMorita
HKEY_LOCAL_MACHINE\SOFTWARE\WOW6432Node\ODBC
C drive:
C:\3dx_data
C:\3dx_settings
C:\JmoritaMFG
C:\Program Files (x86)\3dx
C:\Program Files (x86)\3dxcom
C:\Program Files (x86)\3dxdbmnt
C:\Program Files (x86)\JMorita
Configuration Version 11.1-12.2
- Open Administrative > Edit Control Table.
- All computers must have a unique name. If you have two or more computer with the same name they must be renamed. If the duplicate computer name is no longer in use please contact support to remove from your database.
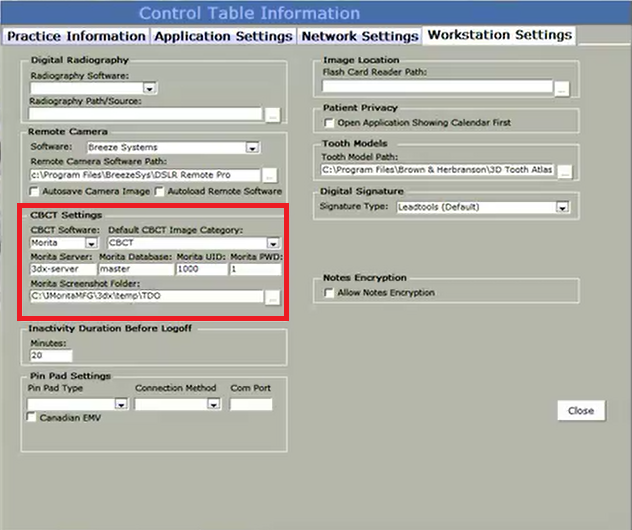
- Select the Workstation Settings tab and fill in the CBCT Settings section.
The Default CBCT Image Category will be used to save the Morita Volumes and screenshots under the specified category. You can create a new Image Category just for CBCT’s by going to Setup > Program Setup > Image Categories, it is typically Morita CBCT.
CBCT Software: Morita
Morita Server: Varies, but this is usually 3DX-SERVER. If you’re not sure, open i-Dixel preferences, and go to the Database section.
Morita Database: Varies, but is usually ’master’ or ’user_net’
Morita UID: Varies, but is usually ’1000’ or ’500’
Morita PWD: 1
Morita Screenshot Folder: C:\JMoritaMFG\3dx\temp\TDO (make sure that this folder exists and that JMC Tech Support has configured 3rd party screenshots to go to this folder)
Version 12.311b+
Note: For CBCT Unit configuration in 12.311b or newer, please click here.
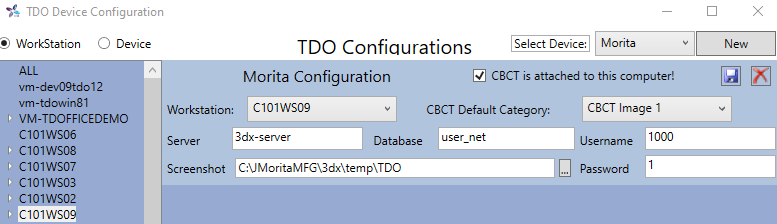
1. Open Setup > Site Configuration > Device Configuration
2. Select the Workstation you need to configure
3. Select Device: Morita, then click New
4. Check the ’CBCT is attached to this computer!’ box; CBCT Default Category: CBCT (or whatever your practice uses); Server: Usually 3DX-SERVER or 3DX-CAPTURE; Database: usually user_net or master; Username: 1000; Password: 1; Screenshot: C:\JMoritaMFG\3dx\temp\TDO (make sure that this folder exists and that JMC Tech Support has configured 3rd party screenshots to go to this folder)
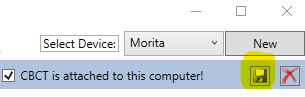
5. Click the Save button (floppy disk icon, upper right-hand corner)
Acquiring a 3D Volume
TDO will connect to the i-Dixel application and automatically check if the patient already exists or not. This information is checked by comparing the TDO Patient ID and i-Dixel patient ID, E.g.: TDO Patient ID 234 = i-Dixel Patient ID: TD00000234. If the Patient does not exist in the i-Dixel database TDO will automatically create it. The i-Dixel application requires the following information to create a patient, make sure the following patient information is entered in TDO:
- First Name
- Last Name
- Gender
- Birth Date
Steps to Acquire
- On the Main Page of TDO, click on Acquire
- Click the CBCT button, this will launch i-Dixel
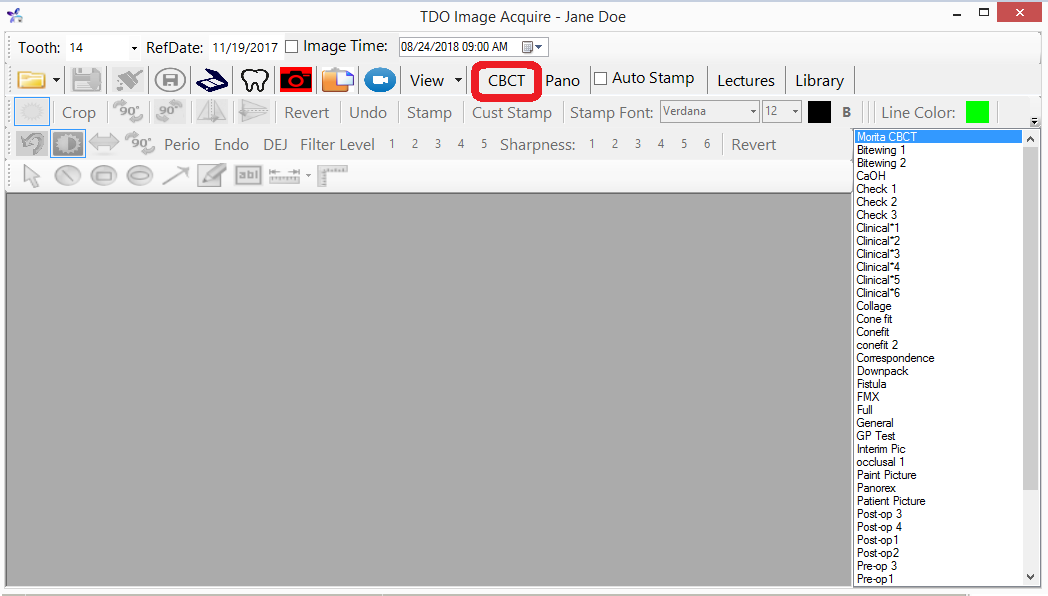
- Acquire the CBCT as you normally would in i-Dixel