Online Patient Scheduler
Estimated Reading Time: 1 MinutesOverview
With TDO Cloud your patients can schedule appointments through the Patient Portal. For a patient to use this, they will need a record in TDO before logging into the patient portal. To enable this functionality, follow the instructions below:
Patient Scheduler Configuration
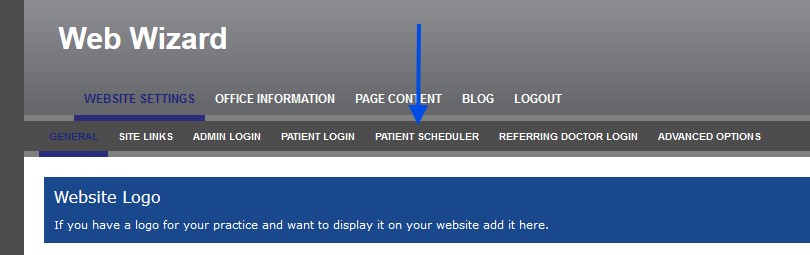
Log into your Web Wizard and click on Patient Scheduler
The following options are available to edit:
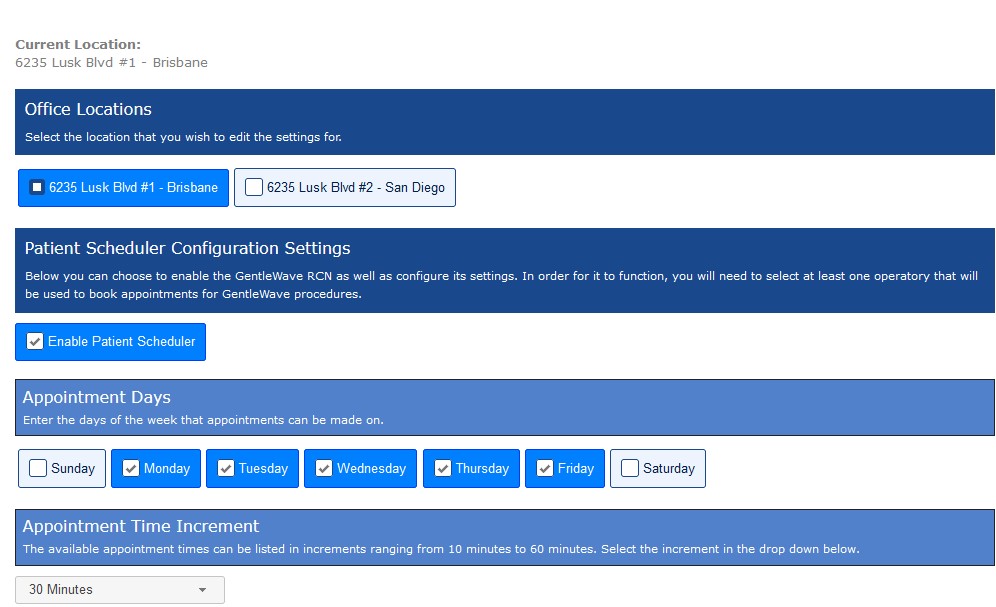
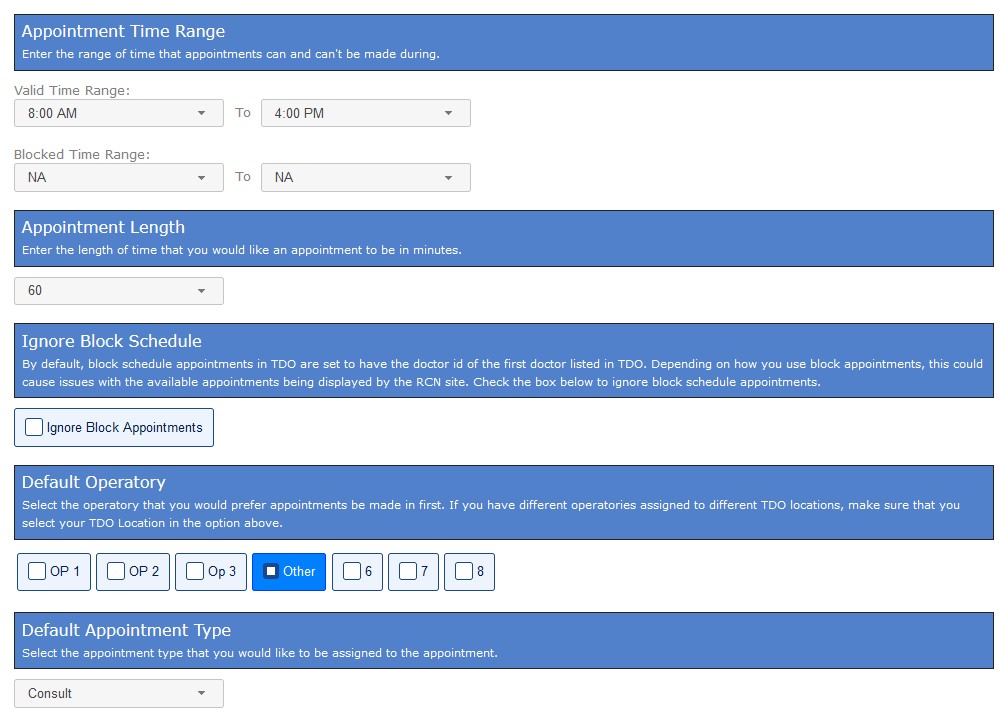
It is important that all of the above options are set; otherwise, the scheduler will not work properly.
Make sure to do the following:
- Click Enable Patient Scheduler when you are ready to have patients use this feature
- Select at least one day under Appointment Days
- Select a Default Operatory
- Select a Default Appointment Type
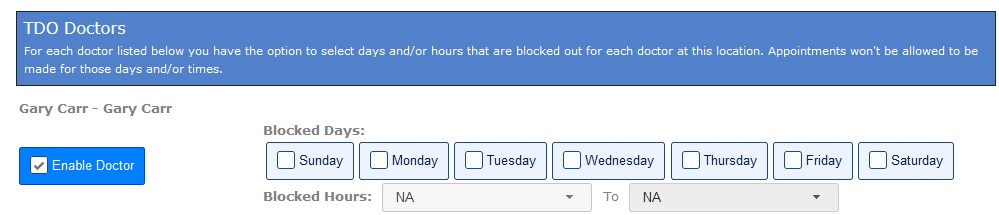
- Select Enable Doctor for at least one TDO Doctor
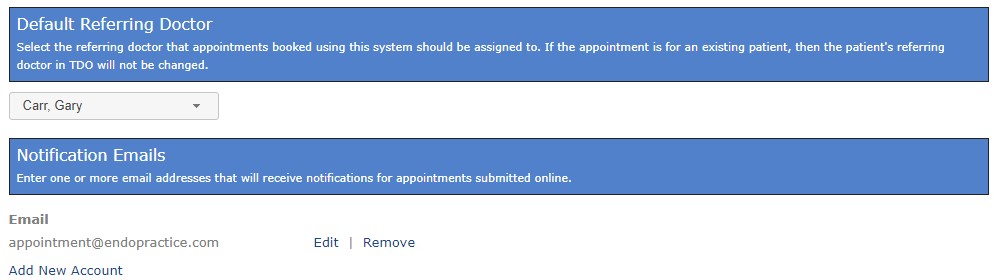
- Select a Default Referring Doctor
- Enter at least one Notification Email
Patient Portal
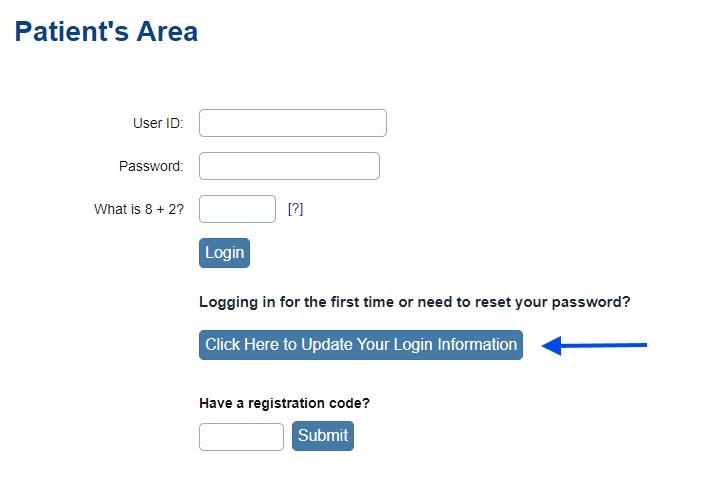
The patient will go to your Patient Portal Login page. They need to be entered in TDO with a valid email address. They can click on "Click Here to Update Your Login Information" to set a password for their account.
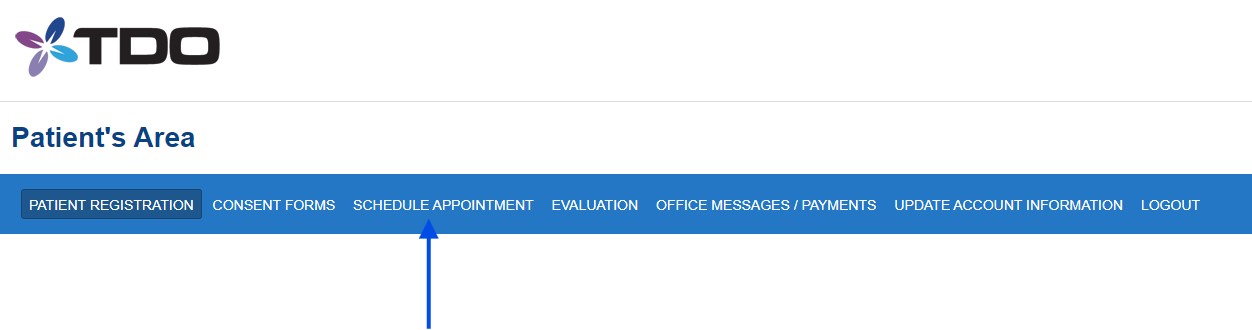
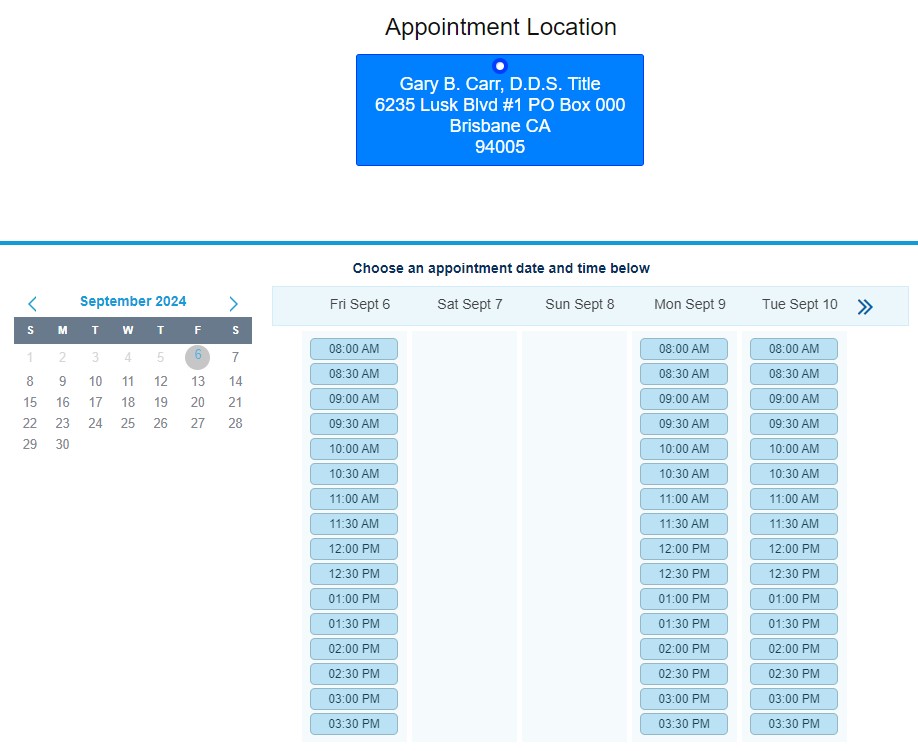
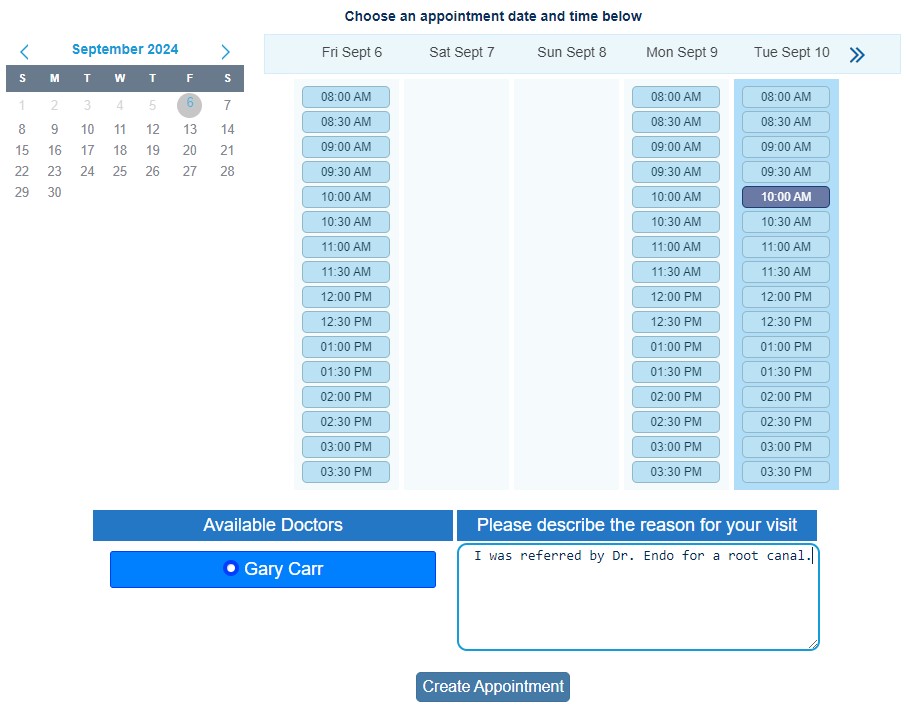
After the patient logs in, they can click the menu link for Schedule Appointment and then proceed to schedule their appointment.
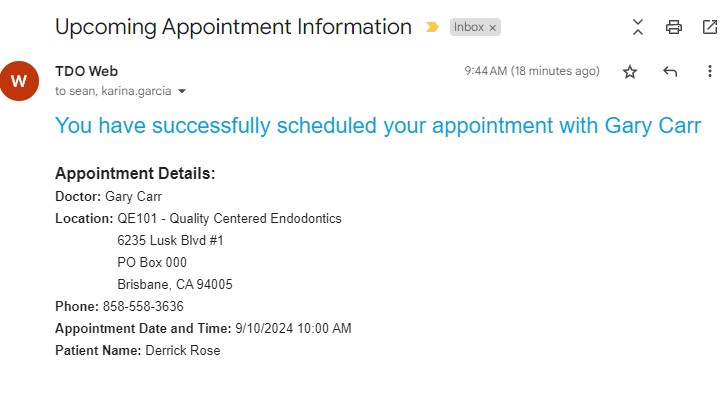
After scheduling their appointment, they will see a confirmation screen.
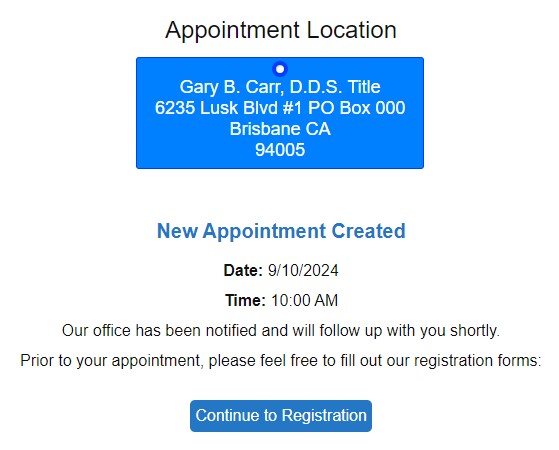
The patient will also receive a confirmation email.
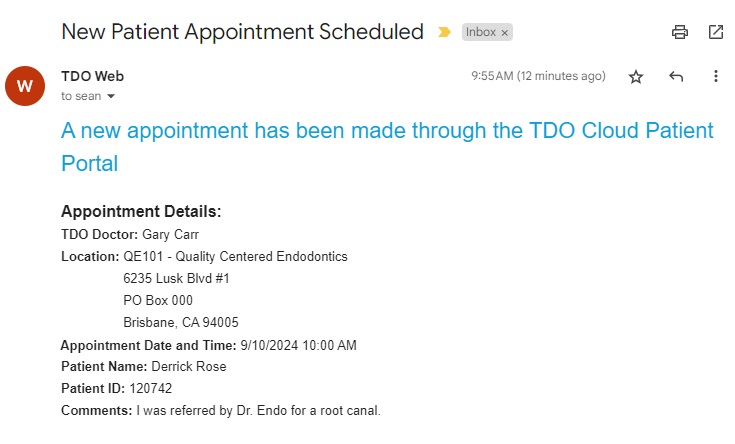
The office will receive a notification email like the one below:
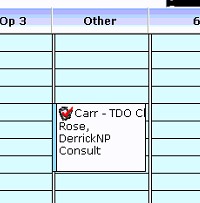
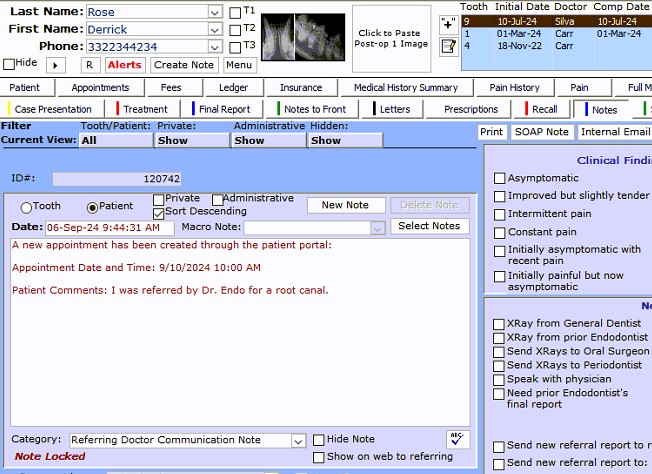
The appointment will be entered into the calendar in TDO and a note will be entered for the patient.