[v12.348g and above] CloudPBX Software - dialing out from TDO
Estimated Reading Time: 1 MinutesOverview
Users can dial out of TDO Software using the CloudPBX integration.
This feature is only available in TDO versions of v12.348g and above, that are already setup with TDO's CloudPBX 3CX system integration. For further details on these prerequisites please visit the below links:
Updating TDO version 12 - Knowledge Base (KB) article 643
CloudPBX Software - Knowledge Base (KB) article 682
At this time, only 3CX version 18 is supported. For the 3CX version 18 file please reach out to your VOIP provider/ CloudPBX Vendor to install the file.
Detailed Instructions
In TDO, go to Setup>Site Configuration>Edit Control Table and click on the “Application Settings” tab.
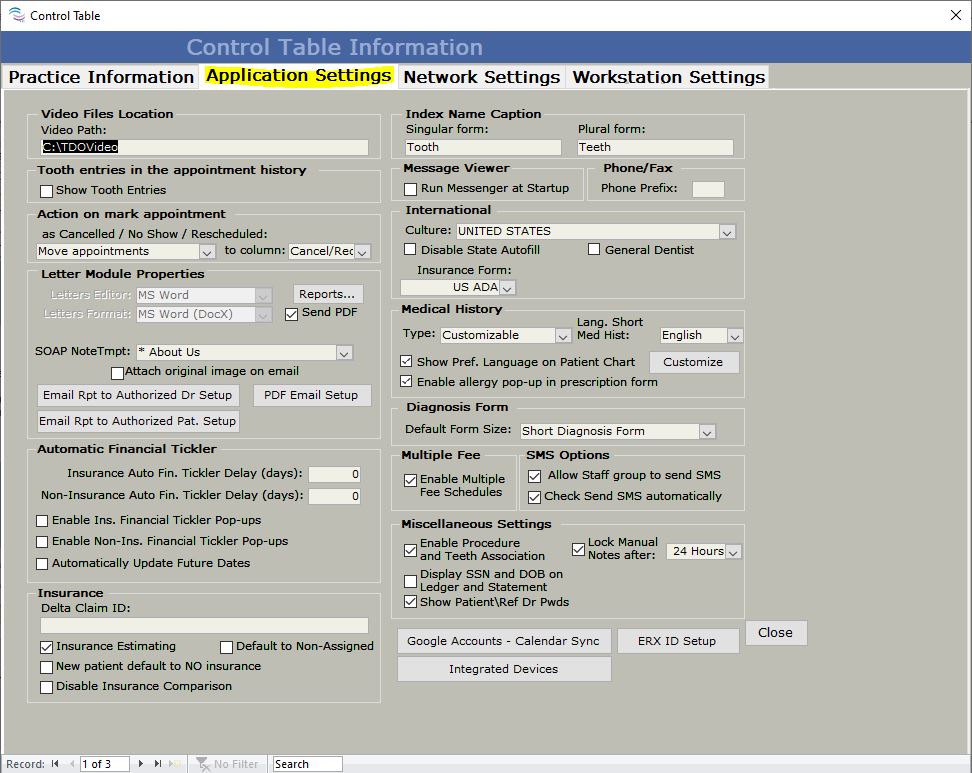
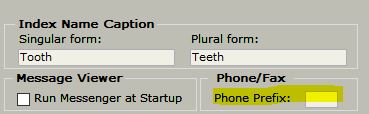
Verify that the Phone/Prefix number field is cleared out.
Exit CloudPBX / 3CX application
Verify that 3CX version 18 is installed. Otherwise, contact your CloudPBX vendor for help with installation.
Restart CloudPBX application.
Launch TDO and double-click a Phone Number in either the Home, Work, or Mobile fields. This window should pop up.
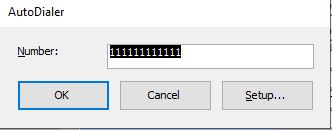
Click on the Setup... button.
Fill out your location information and area code, and then press OK.

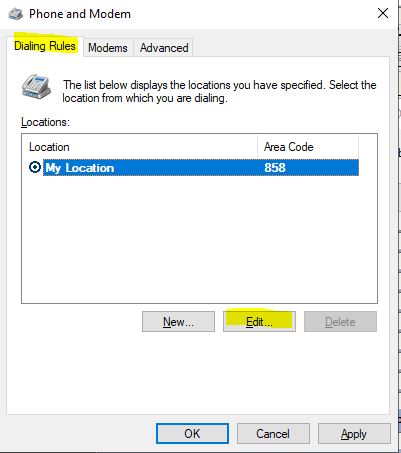
On the Phone and Modem screen select the "Dialing Rules" tab, make sure “My Location” is selected, and click on “Edit”. If the Phone and Modem window does not automatically appear, it can be accessed through the Control Panel (Control Panel>Phone and Modem).
In the “General” tab fill out the “Country/Region” and “Area Code”. These are required fields.
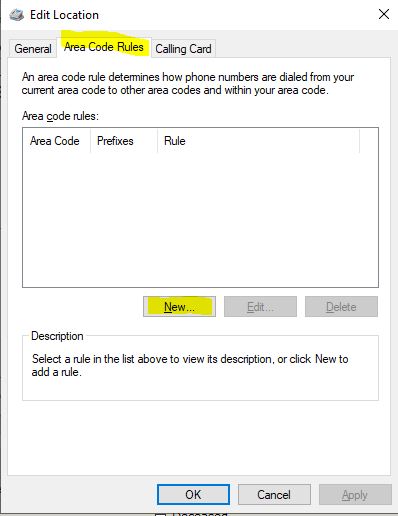
Go to the “Area Code Rules” tab and select “New”.
- Type in the location’s Area Code then select checkbox to “Include the area code.”
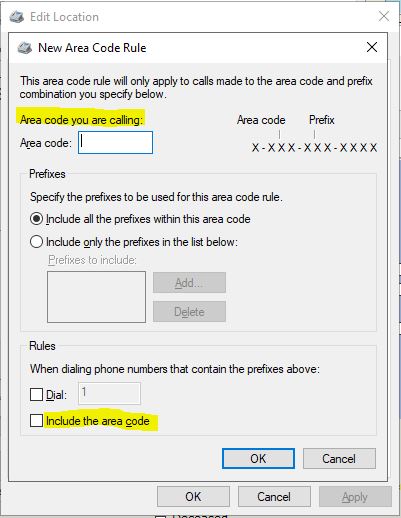
Click OK \ Click OK again \ Click OK again
Now every time you double click a phone number the AutoDialer will come up
Click OK and your 3CX / CloudPBX application will make the call.