[v12] TDO installation
Estimated Reading Time: 7 MinutesOverview
Included in this article is the information that should be given to your IT Professional in order to setup and properly configure TDO for the first time. These instructions apply only to Version 12. Depending on your situation, you may be trying to install in two different fashions:
- If you have multiple computers that will be using TDO, follow the steps listed below for TDO Server Installation and TDO Workstation Installation directions.
- If you have only one workstation that will be using TDO, follow the steps below for TDO Standalone directions.
The information in this article describes TDO v12. Not all information will be applicable for TDO version 11, please visit the following linked article for further details on v11: [v11] TDO installation.
For TDO updates please visit the following linked article: TDO installation - updating TDO to a newer version.
Table of Contents
Prerequisites
Prior to installing TDO, it is necessary to ensure that all computer meet the Version 12 Requirements and that Server is set up correctly. Please follow the steps listed in this article prior to installing TDO.
- Review KB 39 to confirm all minimum software & hardware requirements are meet: TDO Installation - minimum software & hardware requirements
- On the server drive where TDO is to be installed, create a TDO directory and both a TDO Builds and TDOfficeData subdirectory.
- Browse to TDO4Endo.com and login with the doctor’s credentials.
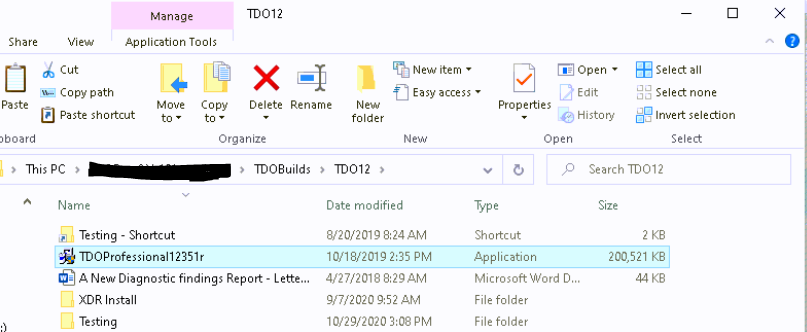
- On the Download page, download the following files to the TDO Builds directory.
Required Files for TDO
- SetupDotNet462.exe
- SetupImages6.exe
- SetupDrugs.exe
- SetupRuntime.exe
- SQL2022ExpressX64.exe
Make sure to download the most recent TDO Professional Installer on the same page (usually labeled TDOProfessional121xx.exe).
Instructions
Server InstallAdditional Server Requirements
From the TDO Builds folder, run the TDO Professional installer.
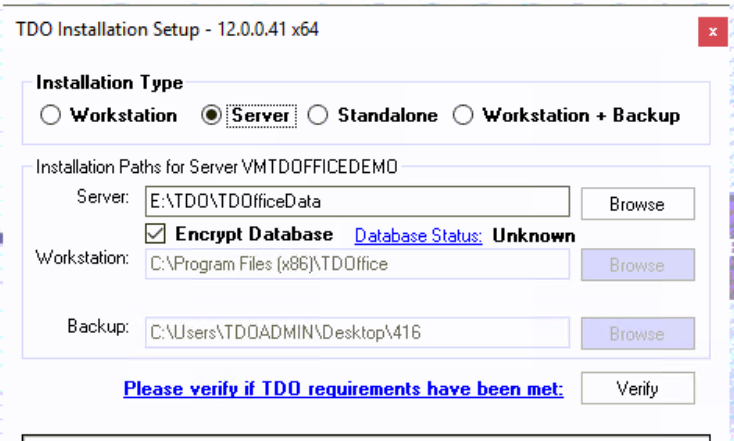
When it gets to installation type, choose Server.
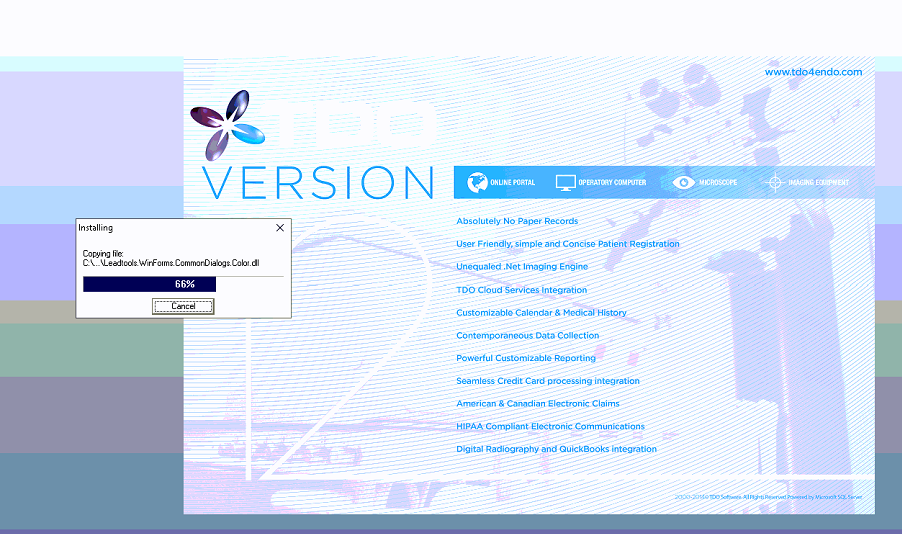
Ensure that you point the Server Directory to your Data drive, IE E:\TDO\TDOfficeData, the TDOfficeData folder you previously created and then click Verify. The installer will check that all requirements have been met. When all requirements are met, click Next. You will not be able to proceed until the Red "X" have been resolved. A message will appear asking you to ensure that you have a current backup before proceeding. Once you have ensured that you have a backup, click Yes. (If you are installing for the first time, you don’t need to check for a backup). At this point, the installation will begin. Allow the install to completely finish prior to installing on any workstations. You will see a message when complete that looks like this:
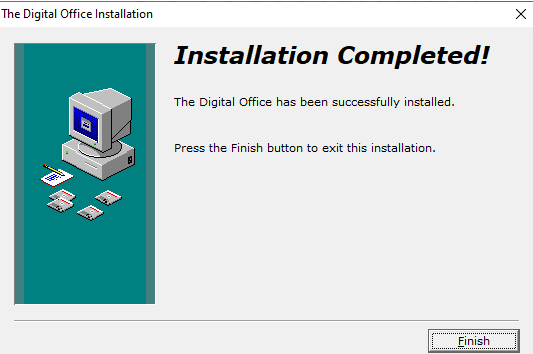
It will be followed by a Success message like this:
After clicking Finish, run the TDO installer again on the server, this time selecting Workstation. TDO v12.446a (NEW databases only) - default letters disabled
There is a known issue where any brand new blank database server installs of TDO version 12.446a have most default letters disabled regardless of whether using classic TDO Letters with Word or TDO Cloud Letters. After completing the server install the following fix will need to be ran. This fix is only needed on the server. Please contact TDO Support at 858-558-3696 for the fix to be applied. Share out the TDO directory to Everyone with Full Read/Write Privileges making sure that the Patients.mdf file gets shared out to each workstation. If the file does not have proper sharing settings, workstations may be unable to see/access the file and the installation will not complete successfully. |

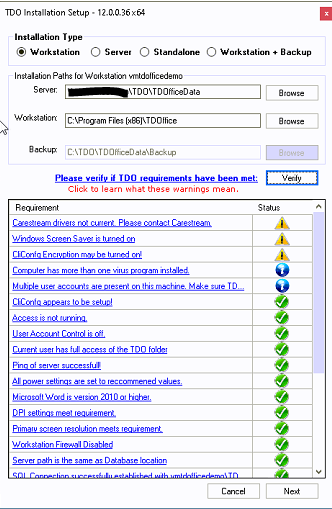
Workstation InstallTDO needs to be installed by an account with administrator access to the local computer. TDO 12 can be installed with the ’server directory’ set using either the UNC path (\\[servername]\TDO\TDOfficeData) or a network drive (T:\TDOfficeData). Either way it is important to use the server’s hostname and NOT the IP Address in the path.
From the mapped TDO Builds folder, run the TDOProfessional12xxx.exe installer and select Workstation as the Installation type.
After completion, it will display a message like this:
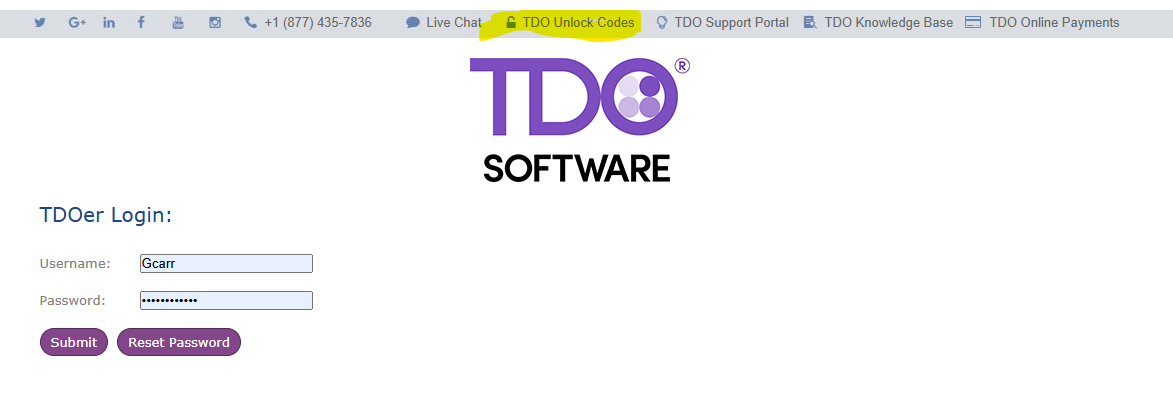
Unlock Codes After installation, each computer/workstation can be unlocked using a an activation or "unlock" code generated at https://tdoer.tdo4endo.com. Click the TDO Unlock Codes link at the top to retrieve this code. You may be prompted to enter the email address associated with your account.
|
Standalone InstallUsers install TDO as a Standalone typically when only one workstation will be using TDO. A Standalone installs TDO as both a server and a workstation at the same time on the same computer. Because this workstation will be functioning as a server, it is necessary to first create a TDO directory with a TDO Builds and TDOfficedata subdirectory. After you have done this, from the TDO Builds folder, run the TDOProfessional12.4xx.exe installer and for installation type, choose Standalone. Make sure the Local Destination path is in the correct location, and make sure the server directory is pointing to the proper data path. Follow the prompts seen on screen to finish installing. |
Post-Install Instructions
- Ensure that a backup is configured.
- Complete the remaining task listed in TDO Best Practices.
- Verify that any peripheral devices are installed and configured accordingly.
- If you want to use the QuickBooks sync utility or drag & drop items into the image organizer on a given workstation, you will need to disable UAC.
It has been brought to our attention that WIA drivers are not currently working with the ’Scan’ function in TDO Version 12 (as of 12.338). Please make sure a Twain Driver is installed for your desired device (Printers and Scanners).
Troubleshooting
Please reference the following linked article when troubleshooting TDO installations: TDO installation - troubleshooting.
|
Keywords #TDO #Install #Installation #version #v12 #WS #Workstation #Server |